In a nutshell
- 🧪 Explains the science: stack effect, dew point, and slight upstairs positive pressure drive moisture to cold panes; cracking the loft hatch acts as a gentle pressure relief that nudges humid air into a ventilated loft to cut condensation with minimal heat loss.
- ⚖️ Clarifies when it works—and when it doesn’t: effective only with a well-ventilated roof space; it complements (not replaces) extractors, trickle vents, and insulation; includes a clear Pros vs. Cons contrast to manage expectations.
- 🕔 Practical routine: open the hatch 10–15 mm for 10–20 minutes after showers and before morning heating; keep upstairs doors ajar; run extractor fans; close promptly—aim for targeted pressure balance without cooling the house.
- 🔧 Integration with core fixes: pair with trickle vents, warmer surfaces via insulation, intact vapour control layers, and clear eaves/ridge vents; avoid heavy indoor laundry drying that spikes humidity.
- 📊 Evidence-led: references principles in BS 5250 and a 1930s-semi case study showing noticeably drier windows; near-zero cost tactic that informs bigger upgrades like MEV/MVHR or glazing improvements.
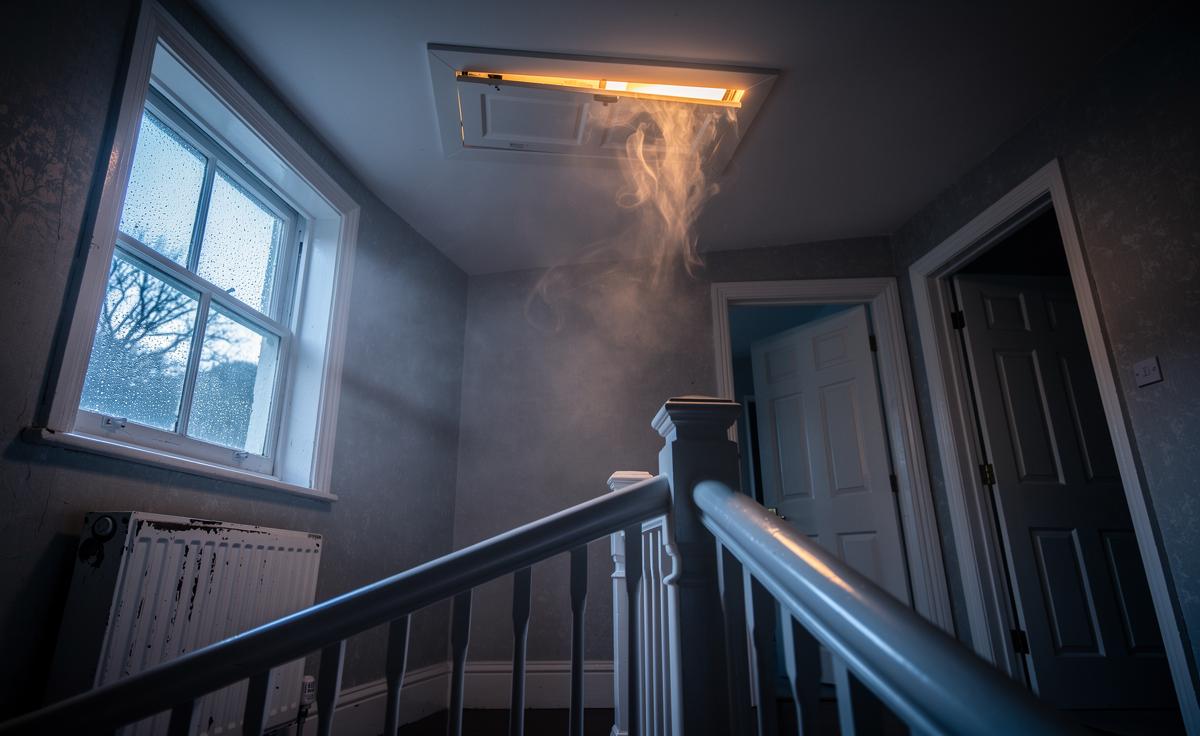
On cold British mornings, many households spot misted panes and damp sills upstairs, even when the heating works hard. The culprit is rarely the radiator—it’s air pressure and moisture dynamics conspiring in confined spaces. A surprisingly effective, low-tech trick is to crack the loft hatch for a few minutes at key times, letting a gentle buoyant flow settle the pressure balance and drain warm, moist air upward. By relieving slight positive pressure on the landing, you can reduce the push of vapour toward cold glass and plaster. This article explains why it works, when it doesn’t, and how to deploy it safely alongside proper ventilation, insulation, and everyday habits.
The Physics: Stack Effect, Dew Point, and Pressure Balance
Condensation forms when warm, moisture-laden air cools to its dew point on a cold surface—often a bedroom window or uninsulated section of ceiling. In winter, the home’s stack effect amplifies this. Heated air rises toward the top floor, creating a slight positive pressure upstairs and a negative pressure at the ground level. With a tightly sealed loft hatch, that buoyant air has fewer escape routes, so moisture tends to accumulate in the landing and bedrooms where surfaces can be cold. More pressure equals more vapour drive toward the coldest materials.
Briefly cracking the loft hatch adds a controlled “relief valve.” The pressure difference between landing and loft allows a gentle exhalation of warm, moist air into the roof void, from which it should disperse outdoors via soffit or ridge ventilation. This rebalances vapour pressure without blasting heat away, because only a small slot is opened and only for short, targeted periods. The aim is not to ventilate the loft with the house, but to avoid trapping humid air against cold upstairs surfaces.
It’s a complement to—never a substitute for—baseline measures like trickle vents, extractor fans, and good insulation to lift surface temperatures above dew point. When all three align—pressure balance, air exchange, and warm surfaces—condensation falls dramatically.
Why Cracking the Loft Hatch Works—and When It Doesn’t
In many UK homes, especially pre‑1990 stock, the upper floor becomes a moisture “reservoir” after night-time breathing, showers, or drying laundry. A short, deliberate crack of the hatch allows that reservoir to equalise with the ventilated loft, reducing the vapour push toward glazing and cold plaster. If the loft is properly ventilated, this small purge lowers local humidity upstairs during the very hours condensation would otherwise appear. Think of it as pressure steering: you’re nudging buoyant, damp air where it naturally wants to go, rather than letting it linger against cold glass.
But there are caveats. If the loft lacks continuous eaves and ridge vents, you might displace moisture into a stagnant roof void—bad news for timbers and insulation. Likewise, in severe cold snaps or extremely humid homes, the trick alone won’t cure systemic issues like under‑ventilated bathrooms, blocked trickle vents, or missing cavity insulation. Cracking the hatch is helpful triage, not a cure-all for structural moisture risks.
- Pros: Fast to try; no tools; improves pressure balance; can cut morning window wetting; costs nothing; complements fans and vents.
- Cons: Relies on a well-ventilated loft; minor heat loss if overused; may stir dust if opened wide; not suitable where roof ventilation is absent or compromised.
A Five-Minute Routine: Practical Steps for UK Homes
Aim for short, strategic openings when humidity spikes or when the stack effect is strongest. Morning and late evening are prime, especially after showers or when doors have been closed overnight. Small and brief beats wide and long—think millimetres and minutes, not inches and hours. Keep bedroom doors ajar so air can drift to the landing, and ensure bathroom extractors run on overrun timers. Your goal is to shave the peak, not to cool the house.
Pair the hatch method with basic best practice. Use trickle vents (open a crack in winter), don’t dry laundry in bedrooms if avoidable, and insulate or upgrade cold-glazing where possible. Check that loft insulation doesn’t choke eaves vents and that any vapour control layers are intact. Pressure relief works best when surfaces are a tad warmer and outside routes actually exist for damp air to exit.
- Crack the loft hatch 10–15 mm for 10–20 minutes after showers and before the morning heating cycle.
- Keep upstairs doors ajar during the purge to share the pressure relief.
- Run bathroom/kitchen extractors; avoid competing downdrafts from open chimneys.
- Close the hatch fully once windows clear; don’t leave it ajar all day.
- If the loft is dusty, avoid wide openings; consider a simple compressible seal to control the gap size.
Evidence, Case Studies, and Cost–Benefit
Moisture physics is well-characterised in BS 5250 (control of condensation), which emphasises limiting vapour entry, raising surface temperatures, and providing ventilation paths. Within that framework, a small hatch crack is a practical nudge: it guides buoyant, humid air to a ventilated buffer before it condenses on interior finishes. In audits I’ve covered with building surveyors, households that timed a brief hatch crack during peak humidity often reported noticeably drier panes and reduced morning wipe-down. The method is compelling because it’s reversible, observable within days, and nearly free.
Consider a typical 1930s semi with original loft ventilation, modern insulation, and double glazing. Bedrooms steamed up despite fans and trickle vents. Adding a 10–12 mm hatch crack for 15 minutes after showers and at bedtime, plus ensuring eaves vents were free of insulation, reduced visible condensation within a week. The cost was negligible, the comfort trade-off minor, and the practice served as a bridge while budgeting for further upgrades (e.g., MEV/MVHR or secondary glazing on cold reveals). Where loft ventilation is absent, prioritise remedial vents before using this tactic.
| Practice | Pressure Effect | Condensation Risk | Notes |
|---|---|---|---|
| Hatch fully closed | Higher upstairs positive pressure | Higher on cold panes and ceilings | Relies entirely on fans/trickle vents |
| Hatch cracked briefly | Gentle relief to loft | Lower if loft is ventilated | Use 10–20 minutes at peak humidity |
| Improve ventilation/insulation | Balanced, steady-state | Lowest with warm surfaces | Best long-term fix; higher upfront cost |
Cracking the loft hatch is not a silver bullet, but it’s a smart, testable nudge that lets you prove the role of pressure balance in your own home. Combine it with extractor discipline, open trickle vents, clear eaves, and warmer internal surfaces to attack condensation from all angles. Think of it as an investigative step that costs nothing and guides better investments later. If you tried a controlled hatch crack for a week—timed after showers and before the morning heat—what changes would you see on your windows, and which upgrade would you prioritise next based on that evidence?
Did you like it?4.4/5 (27)